Tuesday, November 22, 2011

Stuffed Pork Chops

Cooking time! This time I wanted to make a nice Sunday dinner for the family since we weren't going anywhere. We had some frozen pork chops and I wanted to try something different so I found an interesting recipe to try - stuffed pork chops.

First you make up the stuffing that fills up the pork. So I cut up two slices of rye bread.

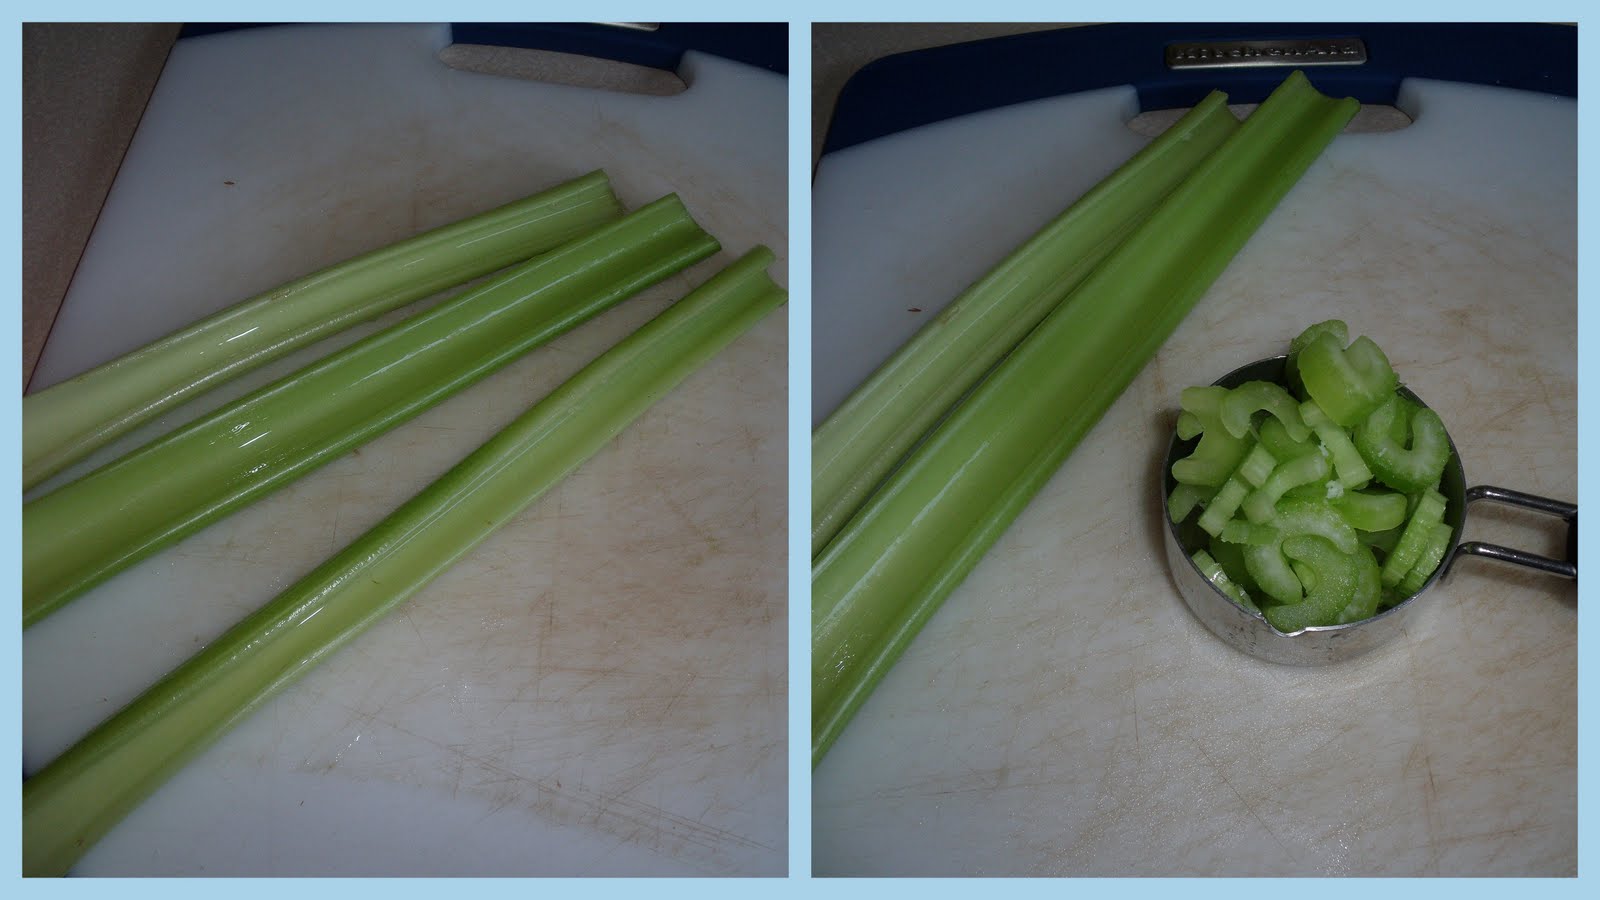
Then you need a half a cup of chopped celery. I washed three stalks, guessing that's how much it would take, but after chopping only one I had all the celery I needed.
Next you need a half cup of chopped onion.

And then a half cup of diced dried apples. When I set out to make this, I thought we had plenty of dried apples left from our fruit drying this summer, but when I checked it seems someone ate them all. So earlier in the week I cut up an apple and dried it so I would have some ready. If you don't have a dehydrator you can just buy some dried apples.

Put all that stuff in a bowl and thrown in some thyme.


Pour in some chicken broth.

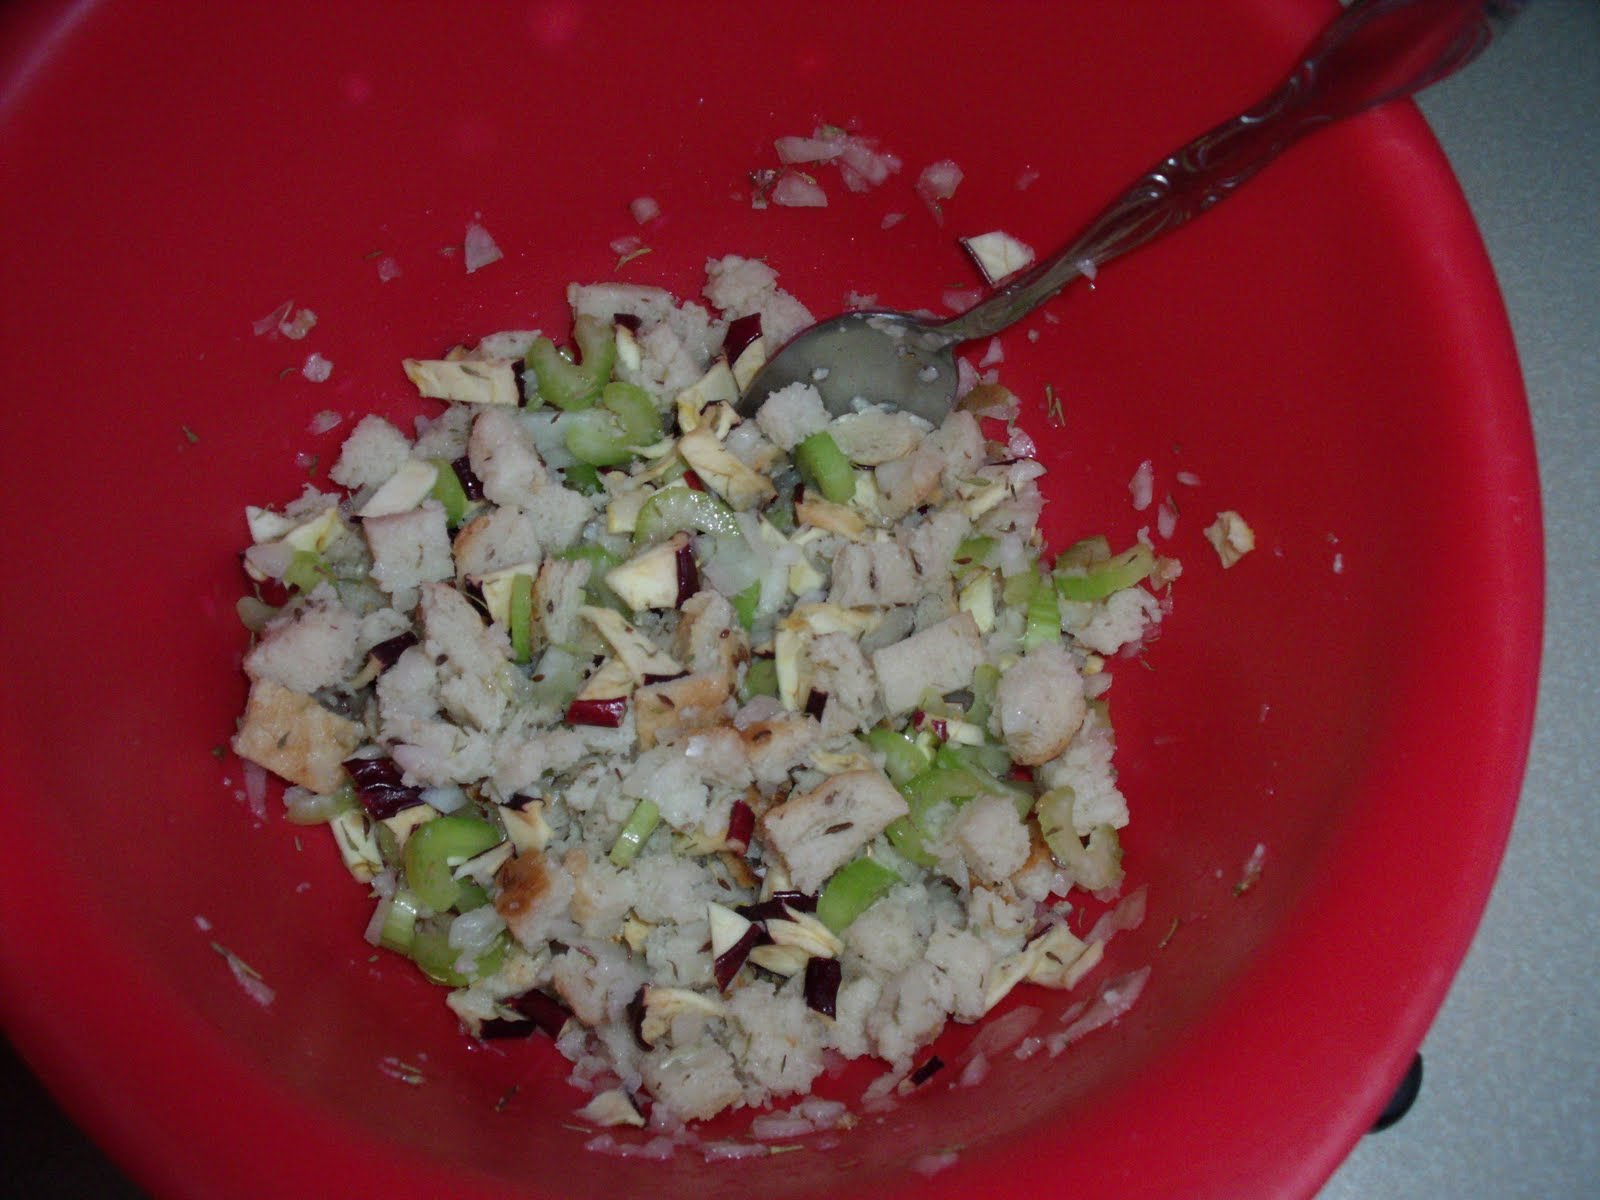
And stir it all together.
Then the hardest part. Cut slits in your pork chops to make pockets. I hate this because you have to handle the meat a lot so you don't cut all the way through and I HATE touching raw meat. 

Once you have the pockets cut, stuff your pork chops full of the stuffing.

While you're stuffing the chops, have a little oil heating up in a frying pan. Put the chops in to brown them. Then flip and brown the other side. Have fun trying to keep the stuffing from falling out when flipping over...I sure did.


Once they are properly browned, transfer to a baking dish and bake for fifteen minutes to finish cooking them.

While they were baking in the oven, I used my extra celery and made a tasty little side dish. Mmm...peanut butter.

When the time is up, you're done cooking and it's time to eat!

They were pretty good. Brigham loved them, but since I'm not a huge stuffing fan I thought they were only decent. I wanted to leave the stuffing out, but without the stuffing the pork would be pretty blah. If you didn't have a bit of stuffing in the same bite as the pork, the flavor was pretty lacking. I think if I make it again I will marinate or season the actual pork chops before using them.

It was nice that after making just a little stuffing for this dish, I had enough of the ingredients left over that I was able to make a big batch of stuffing as a side dish for another dinner later that week.

It was a filling, nice Sunday night family dinner that wasn't too hard to make. I give it three out of five stars.

If you want to attempt to make it yourself, here is the recipe.

Saturday, November 19, 2011

Growth Spurt

I think I'm kind of a clueless mom sometimes. Usually I don't notice when my kids are transitioning. It's always Brigham that finds the new teeth or someone else suggesting my kids are going through a growth spurt. I generally just look at my kids and realized how much bigger and older they are suddenly. Then, pondering on the past, I recognized missed clues and feel sad that I missed them.

This time, I think Ammon was trying to make it clear he's growing into a big boy.

Perhaps it's the fact that he can eat an entire pancake before his regular bowl of baby cereal/fruit mix for breakfast.

Or maybe I realized it when he couldn't stop rubbing his eyes and yawning during BREAKFAST. I thought to myself, "Seriously? You've been up for like two hours."

But he made it really clear when he kept not making it until nap time.

I kept finding him like this,

Or like this,

In the middle of the floor, passed out, an hour before he usually hits the sack.

It was tenderly hilarious.

My poor boy, growing too big to stay awake. If these signs are right I think he's going to be toddling around soon. I'm excited and sad because I want to hold onto these days. I want to be able to scoop him off the floor when he's crashed and cuddle him on the way to his bed forever.

But grow he must and what adventures he'll have, as soon as he can wake up....

Wednesday, November 16, 2011

Cornstalk Wreath

One of the funnest projects I've done this year was making a cornstalk wreath. When our landlord told Brigham we could have his cornstalks, I immediately went online to find what cute crafts I could make and I fell in love with the idea on this blog of a cornstalk wreath with a pine cone middle. First, it would be free to make, second, it was pretty dang easy, and third, I thought it would look pretty fantastic.

Unfortunately I didn't take pictures of the crafting process but I do have pictures of the end result and I can tell you how it went.

First, I sent Brigham out to chop down the cornstalks. Then I stripped off the leaf things from the stalks. This part started out ok...until I realized the stalks were covered in bugs. Namely spiders and earwigs. I can do spiders as long as they don't touch me, but earwigs completely creep me out. I did about ninety percent of the leave-stripping and finally had to call Brigham out to finish and to shake the bugs out of all the leaves so I could touch them again.

Brigham doesn't understand why earwigs freak me out. He says he used to play with them as a kid (who does that?!). I asked him why he didn't get pinched and he says they don't pinch.
Then WHAT THE HECK are those PINCHERS sticking off their butt for?! (ugh this picture is so disgusting, I can't stop shuddering)

I read online and they DO pinch.

Brigham and I both got a couple bug bites from this first part, so if you don't like bugs find someone that does to help you out.

Back to the crafting...

After the leaves were stripped and de-bugged, I took a hanger stretched out to a circle shape and then used twine to weave the corn stalk leaves to the hanger, using the method from the blog. It didn't take too long, about an hour or two.

The other fun part was being able to take the bare-ish corn stalks and bundle them together to stand as another fun fall decoration by the door. Two crafts in one!

To get the pine cone middle, we took a trip to Brigham's dad's house and gathered pine cones from under the pine cone tree. Lydia really enjoyed helping with this part. 

Then I took the twine and attached them to the hanger as well, only in the center of the cornstalks. This was a lot harder than weaving the stalks and took me awhile. I eventually switched to floral wire because it was thinner and less visible with the pine cones.

Once you get a good base of attached pine cones you can just pack the rest of the pine cones in to fill up the gaps. Word to the wise, I found out pine cones like to hide spiders and bugs as well. That led to careful examining and handling of each pine cone before attaching.

Once the pine cones were attached I was done! And because you use a hanger, there is a built in hook to hang it with. The lady whose blog I got the idea from, cut her wreath down smaller but I liked it big so I left it how it was. It wouldn't fit on my door but it looks just as cozy above the fireplace.
I had Lydia stand next to it to show how big it is, and because she helped me gather the pine cones. She and the wreath are both pretty fancy, so they look pretty good together :)

I LOVE the wreath; I look at it all the time marveling that I made something that cool (it does look a lot cooler in person than in these pictures). I have to say it was a fun fall project to do, bugs and all.

Monday, November 14, 2011

Linguine with Italian Tuna and White Beans

Cooking time again. This time I was attempting a twist on our normal pasta dinner. When I read this recipe in a magazine, it sounded good to me and I decided to give it a try.

First you take some pasta (it called for spinach linguine but I just used whole wheat pasta) and cook it according to package directions.

While your pasta is cooking, chop up some stuff. Like fresh Italian parsley. This was my first time working with fresh parsley - I've always used dried. Assuming it was going to taste just like the dried stuff, I chopped up more than the recipe called for because I thought the pasta would need more flavor.

Then I chopped up the red onion.

Setting my chopped stuff aside, and after three different attempts with three different can openers, I FINALLY was able to open my tuna cans. You have to have tuna in oil for this recipe.


To make the dressing, I drained the oil from the tuna into a bowl.

Add some lemon juice...it's supposed to be fresh squeezed but, not only did I not have enough lemons, no way did I want to do all that work.

then some minced garlic, salt, and pepper.


Whisk it all together and then flake your tuna it the dressing as well.

My pasta was done by now, and so I was to rinse it with cold water. And that's what I did.

Next, after draining and rinsing your beans (they are supposed to be cannellini beans but I didn't have any so I used garbanzo beans), add them to your pasta.

Throw in your parsley, onions, and tuna dressing.

And stir it all together!

Whala! You're done. Plate it up, throw on some parsley for garnish and lemon slices on the side for extra flavor.

It looked pretty and I love tuna so I was excited for this dinner. I was a little nervous about the lemon flavor because usually I'm not the biggest lemon fan, and usually I don't like crunchy onions with soft pasta and beans. But the dish had sounded good so I was giving it a try.

Until about halfway through, I liked it pretty well, and actually it wasn't the lemon that got to me. Let me tell you, fresh parsley is WAY stronger than dried. I should have never added extra parsley and the flavor started to overwhelm me. I had to give the rest of my plate to Brigham. The crunchy onion bothered me a little bit but not too much.

Brigham was more than happy to eat the rest because he really liked it. Lydia did well eating hers too :)

This meal was cheap, easy, and pretty healthy. I'm giving it three stars out of five.

Even though I couldn't finish my plate, I liked the dish enough that I would make it again as a side salad. It's too much for me to have it as the main portion of my meal, but it would be a great complimentary side for lots of entrees.

Here's the recipe in case you want to try it out for yourself, and keep in mind it's not mine. I would give credit where it's deserved, I just don't remember what magazine I ripped the recipe out of:

8oz spinach linguine
8oz canned Italian tuna packed in oil
1/4cup fresh lemon juice
2 large cloves garlic, chopped
1 tsp salt
1/2 tsp freshly ground black pepper
1 can (15oz) cannellini beans, rinsed and drained
1 small red onion, thinly sliced
1/2 cup chopped Italian leaf parsley, plus whole leaves for garnish
1/2 thinly sliced lemon (optional)

Cook pasta as directed on package; drain and rinse under cold water. Drain tuna, reserving oil in a salad bowl: whisk juice, garlic, salt and pepper with oil. Flake tuna into same bowl. Add pasta, beans, onion and chopped parsley; toss gently to coat with dressing. Serve garnished with parsley leaves and lemon slices, if desired.